Happy Father’s Day! Sangria is the perfect drink for a weekend with friends and family and there’s one universal truth when it comes to American dads: they love barbeque ribs. I dare you to find one that doesn’t. Okay, I’m sure a few exist, but those dudes are sure to have some kind of allergy to succulence. A rare breed, indeed.
This weekend marks the Day of the Dad, and while most people will just be throwing a few burgers and dogs on the grill (or maybe he’s earned a NY strip steak this year), I’ll be feasting on a few racks and pairing them with a classic homemade coleslaw, an ear of corn, and a hunk of cornbread as I bask in the fatherly glory.
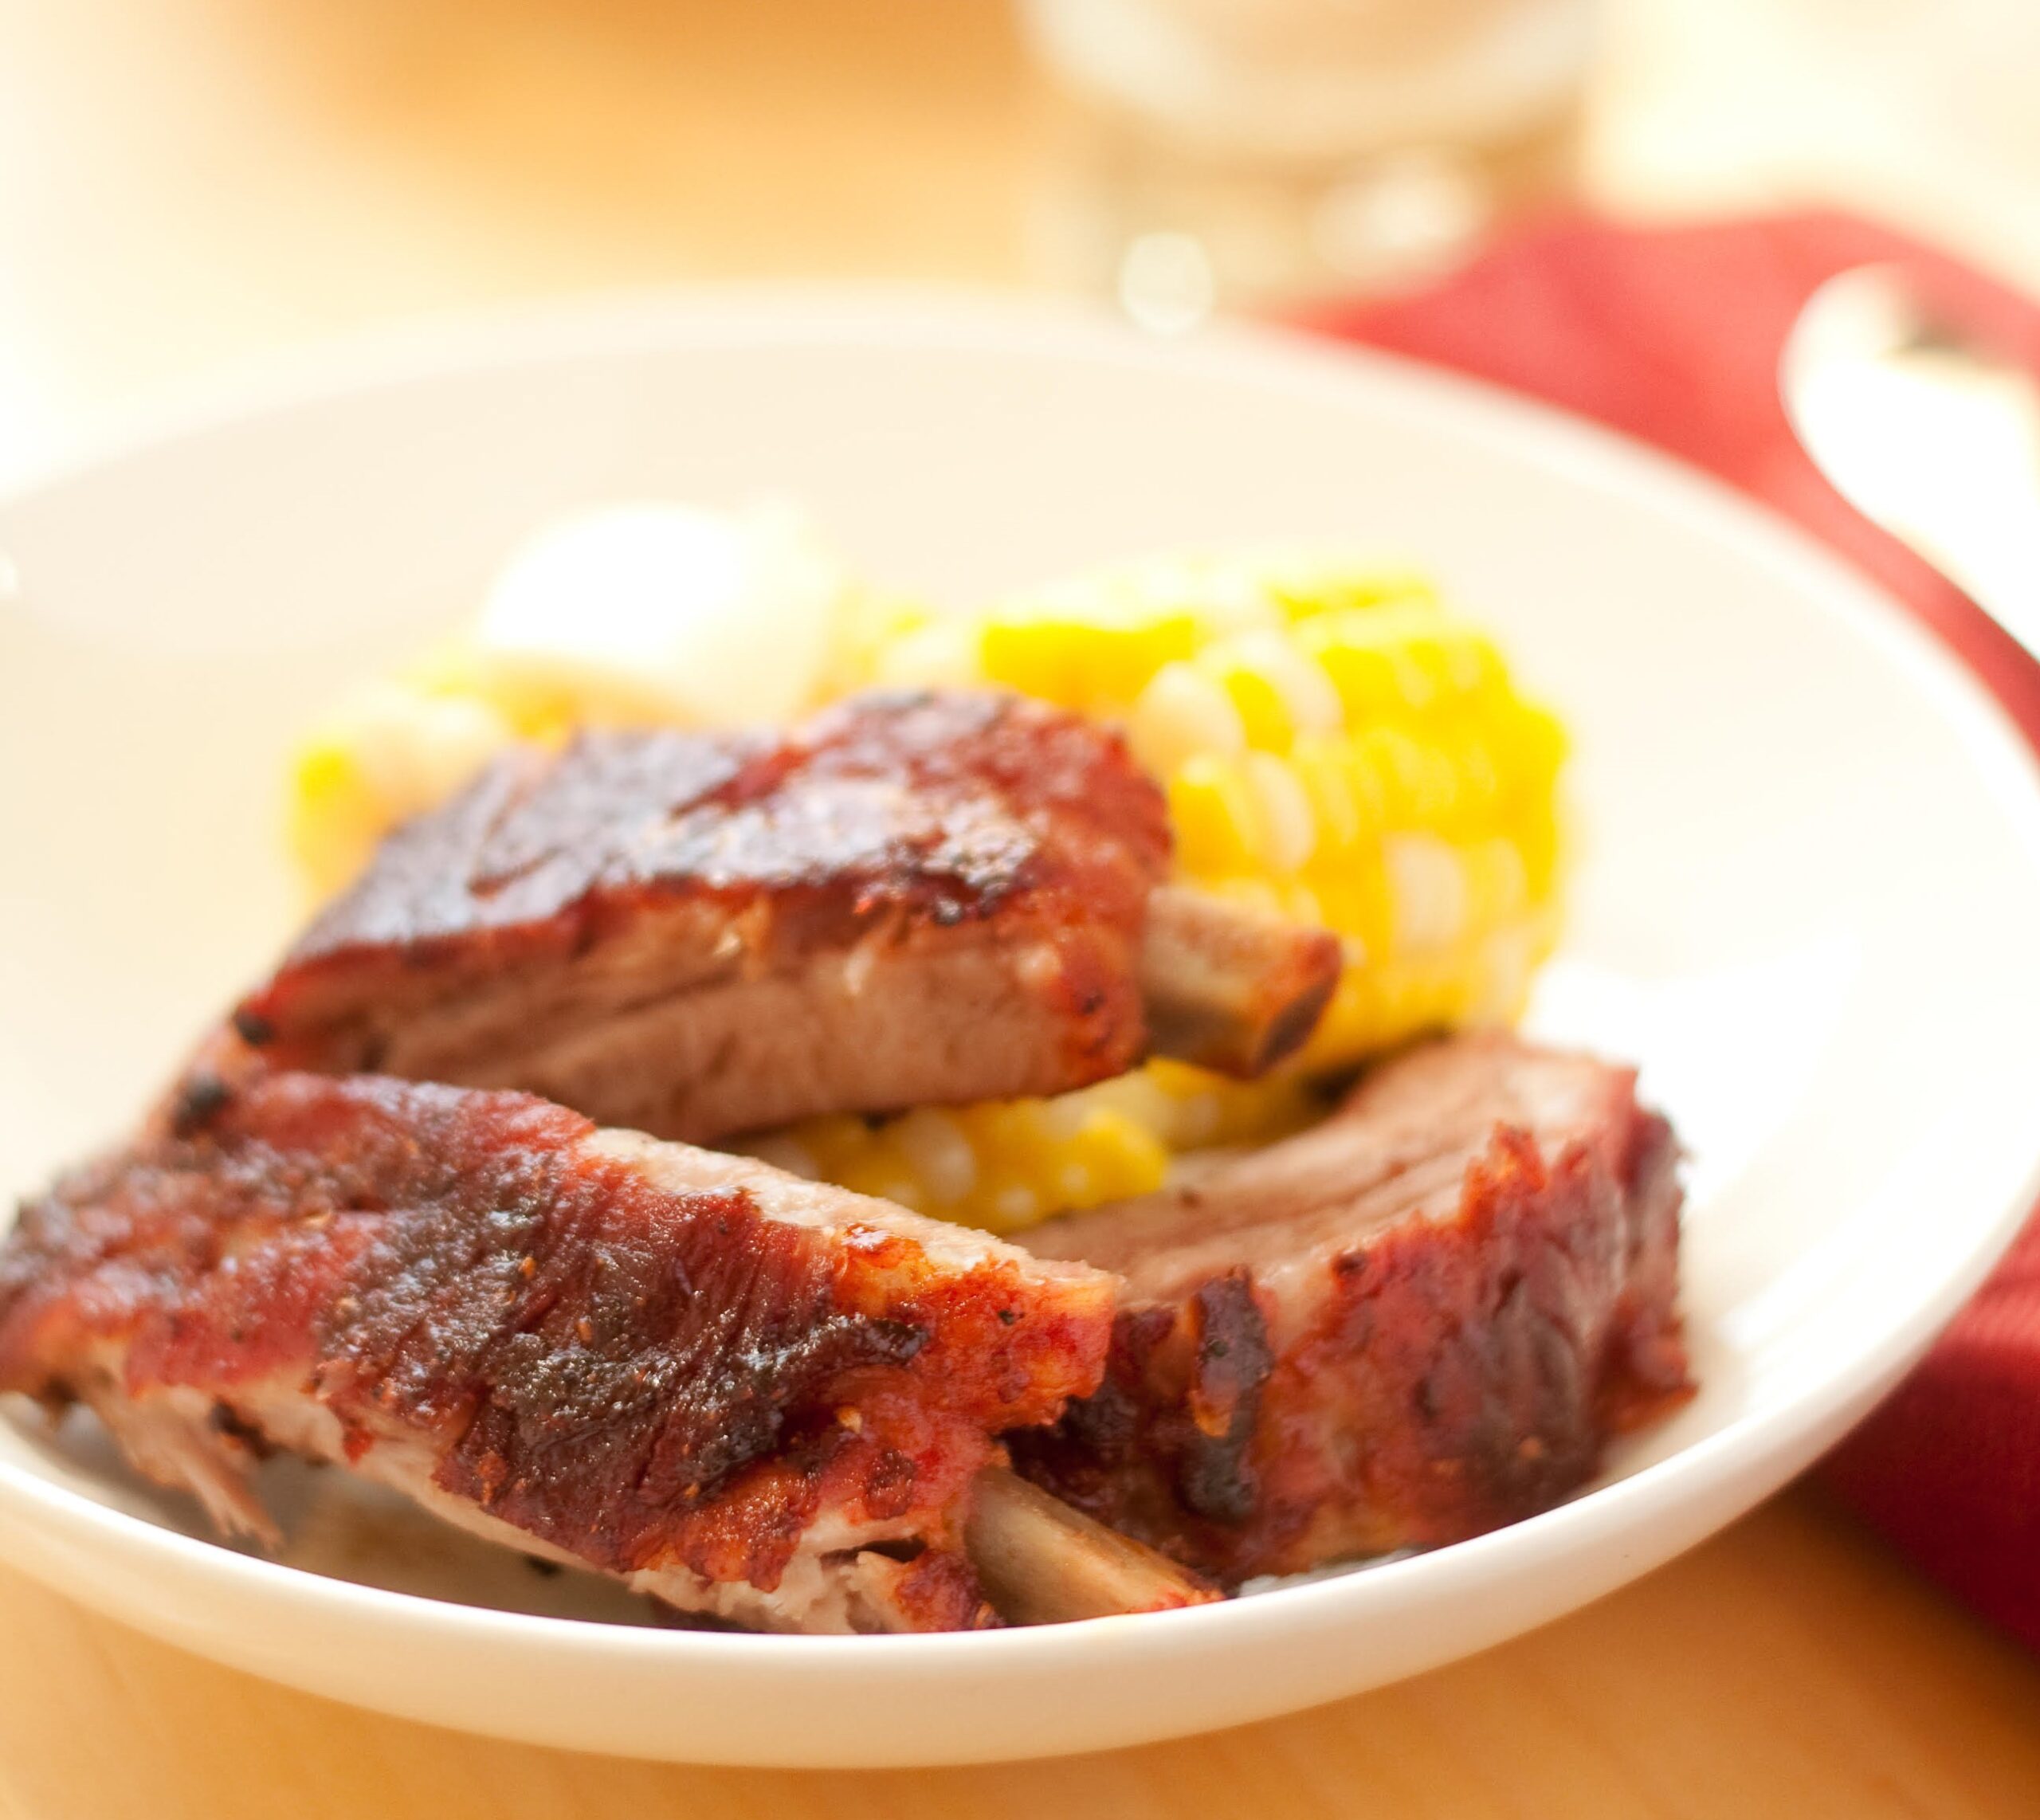
Jealous? Don’t be. Slow-cooked, properly seasoned baby back ribs are a thing of beauty – the stuff food dreams are made of – and are surprisingly easy to pull off at home. Sure, they need some TLC along the way and can’t be rushed, but they are well worth the wait. And I have found them to be superior to those offered at restaurants when they are made at home the right way. Read on to learn how to put a saucy grin on dad’s face this year (assuming he’s earned it).
The ingredients make the meal
First, you gotta start with the right ingredients. Obviously, the ribs are key, and I recommend getting one rack for every two adults so you have enough for the festivities and maybe a few left over to heat up for lunch during the week. Pork baby back ribs are the mainstay, but beef ribs will do, and I usually hit up my local butcher on Saturday (shout out to my guys at N&K Prime) but you can find them in any respectable grocery store, Costco, and even at Trader Joe’s. For the flavor, you’ll need a good dry rub and a jar of sauce – I swear by the Bone Suckin’ brand for both, but others will work just fine. I try to avoid barbeque sauces that have corn syrup listed as one of their primary ingredients, as they tend to be overly gooey and too sweet for my taste. Don’t forget to pick up a bag of dry coleslaw and some ears of corn in the produce aisle, and a box of cornbread mix (or a premade loaf works, too – dads love a good shortcut, am I right?).
Ditch the grill/smoke, go with a sure thing
Now, some purists believe ribs need to be done on the grill with a smoker box, and they’re not necessarily wrong, but I’ve found that method too labor intensive, and risky; maintaining a consistent low temperature is essential and most grills don’t do that very well. I’ve done it successfully just once of the three times I went that route and those are just not great odds. Smoked flavor is a nice-to-have, in my opinion, but is just not worth all of the rigamarole when you can just use the oven in your house. Not only does it regulate the temperature to perfection, but the aroma that wafts through your place is such a bonus! (I’m looking at you, Glade.)
Prep with care
Okay, you’ve got all your stuff and it’s the night before you plan to eat. Time to dredge the ribs in the dry rub. Put on a pair of latex gloves from your pandemic prepper stash under the basement stairs and liberally pour the rub on all sides of your racks and get rubbing. Not too hard, but with love. It’s fun, and surprisingly therapeutic. The goal is to tenderize the meat a little while you make sure every square millimeter of the thing has rub on it. Place them with the bone side facing up on a baking sheet, cover them with plastic wrap, and place them in the fridge overnight. Oh, the sweet dreams you’re sure to have…
“Low and Slow” sets the pace
Five hours before you want to eat, place them in a 250-degree oven and set a timer for two hours. Maintaining a constant temperature is super important and you’ll want to keep the oven door closed as much as possible. “Low and slow” is the mantra and it’s really the hardest part of making ribs. That aroma makes you want to sneak a peek, or turn up the heat a bit so that you might be able to shave off some time. Don’t do it! You’re only going to open the door once the timer goes off to rotate them. Take them out and flip them so the meat side is up and put them back in, being sure to switch the oven racks if you are cooking two sheets, and rotate each sheet so the back side is now in the front. Set the timer for two more hours.
Almost to the finish line
Ding! Are they ready? Nope. Time to turn the heat down as far as the oven goes (around 200 degrees) and take out the ribs to check. They should be done by now, with the meat falling off the bone with very little effort – like it wants to be eaten. Go ahead and snag a piece to be sure. Not quite done? No problem, throw them back in at 250 and check them every 20 minutes. Done? Yes? Woohoo! Slather the sauce all over the top with one of those rubbery-brush-doodads, and put them back in the low-temp oven. They’ll need to be in there for 20-30 minutes until the sauce starts to caramelize and sizzle on the edges. Keep checking on them through the window so you don’t let out any heat, taking care not to let the sauce burn. (It’s better to be saucier than burned, in my book, but some people prefer them blackened a bit.)

Let ’em rest while you sip
Take them out, then let them sit under foil for another 15-20 minutes while setting the table and opening a bottle of Red Senor Sangria. By now, people are circling like ravenous wolves, mouths a’ water. You’ll need to keep them at bay while the ribs rest a bit – the sangria may be used to calm the pack.
Dinner is served!
Time to serve ‘em up! During the first two hours, you’ve made your slaw, using a store-bought dressing, or you can make your own with a few ingredients you might already have – mayo, apple cider vinegar, lemon juice, sugar, salt, pepper. The second period was for hooking up the corn and cornbread. Just get out a large bowl and grab a large, sharp chef’s knife to cut between each rib bone and serve. Cue the saucy grins!
Happy Father’s Day from Senor Sangria! (Especially to all you succulent-allergic dads out there. That’s gotta be tough.)
By Jon Hansell | June 15, 2023